
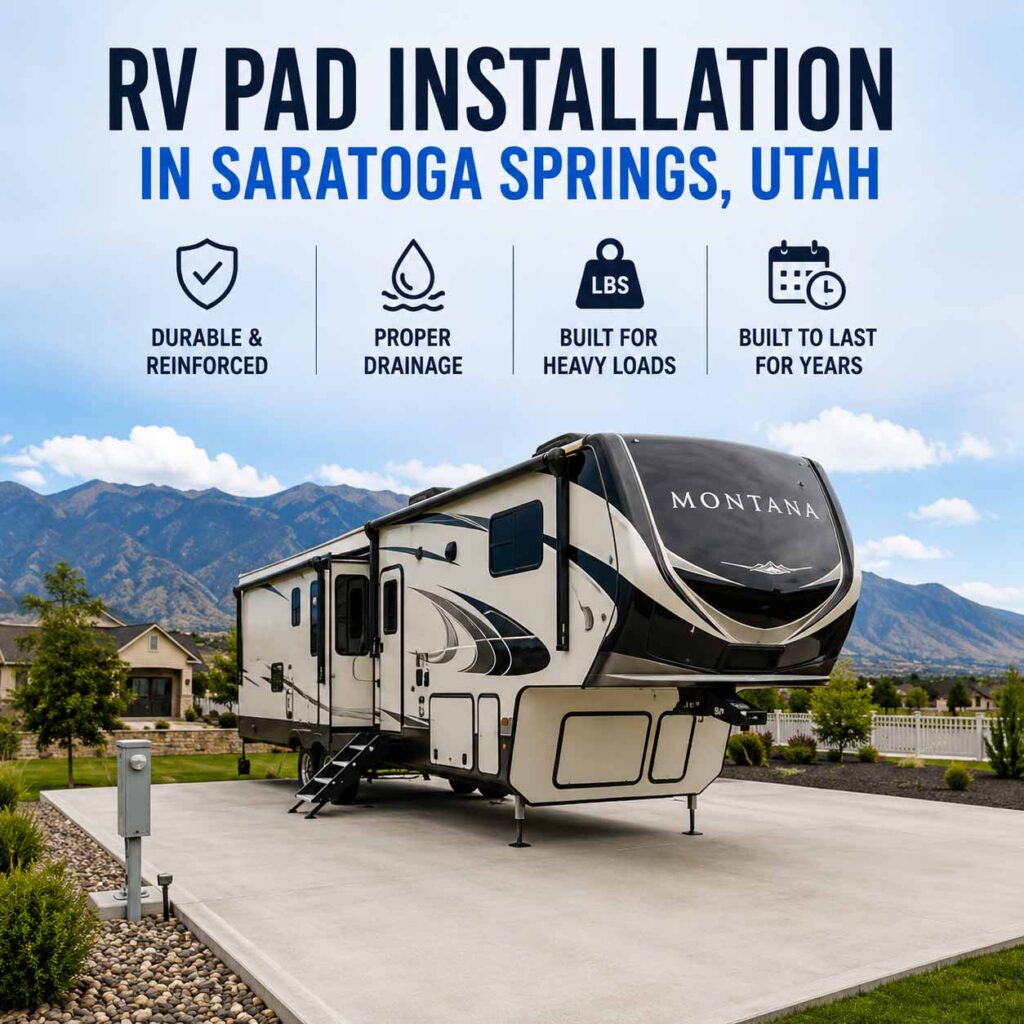
A concrete RV pad seems simple until you start planning the details. Where should it go? How wide should it be? Does it need to slope? Should it be reinforced? Can it connect to the driveway? Will the city or HOA care where it is placed?
For Saratoga Springs homeowners, these questions matter. RVs are heavy, properties vary by neighborhood, and Utah weather can punish concrete that is not installed correctly. A good RV pad should do more than give you a place to park. It should protect your vehicle, preserve your yard, and hold up for years without settling, cracking, or creating drainage problems.
Before you pour, here are the main things to plan.
Start With the RV, Not the Pad
The first mistake many homeowners make is planning the pad based only on available space. The better approach is to start with the RV itself. A small travel trailer, fifth wheel, toy hauler, and Class A motorhome can all require different planning.
Consider the full length, width, loaded weight, tire placement, turning angle, and how much room you need around the vehicle. If the pad is too narrow, you may have trouble opening storage compartments, extending steps, or walking around the RV safely. If it is too short, the vehicle may hang over onto landscaping or the driveway.
A well-planned pad should fit the RV as it is actually used, not just as it appears on paper.
Think About Access Before Choosing the Location
The best location is not always the easiest place to pour concrete. It also needs to be easy to access. If backing into the space requires a sharp turn, a narrow gate opening, or a difficult approach from the street, daily use can become frustrating.
For many Saratoga Springs homes, a side-yard extension from the driveway is the most practical option. In other cases, an angled pad or wider approach section makes more sense. The goal is to create a parking space that feels natural to use, especially if the RV is moved often during camping season.
Check Slope and Drainage Early
Drainage should never be an afterthought. A concrete RV pad needs the correct slope so water does not sit against the home, collect under the RV, or freeze into slick patches during winter.
In Saratoga Springs, drainage can vary from property to property. Some lots are flat, some have side-yard slopes, and some newer neighborhoods have compacted areas that do not absorb water quickly. Before installation, the contractor should look at where water currently flows and where it needs to go after the pad is poured.
Good drainage planning helps protect the concrete, the RV, and the surrounding landscaping.
Plan the Base Properly
The concrete slab is only as strong as what sits underneath it. If the base is poorly prepared, the pad may settle, crack, or shift under the RV’s weight. Proper excavation, grading, and compaction are essential.
The base should be built to support the expected load. Heavy RVs create concentrated pressure at the tires, and the pad needs stable support below those points. Cutting corners on base prep can lead to long-term problems even if the concrete looks good on pour day.
Choose the Right Thickness and Reinforcement
RV pads should be built stronger than standard pedestrian flatwork. The correct thickness depends on the RV and the site, but many residential RV pads are designed within the 4 to 6 inch range. For heavier vehicles, reinforcement and added thickness may be recommended.
Rebar or wire mesh can help improve the pad’s performance, especially when the slab will support significant weight. The exact reinforcement plan should be based on the vehicle, the pad size, and the ground conditions.
The key is to avoid a one-size-fits-all approach. An RV pad should be built for the real load it will carry.
Decide Whether You Need Extra Width
Many homeowners focus on the RV’s tire width, but extra space around the vehicle can make the pad much more useful. Additional width may allow for safer walking space, easier loading, room for wheel chocks, and access to storage bays.
If the RV has slide-outs, stairs, or exterior compartments, account for those before finalizing the dimensions. A slightly wider pad can make everyday use easier and prevent people from stepping off the concrete into mud, grass, or gravel.
Consider Future Utilities Before the Pour
If there is any chance you will want electricity, water, drainage, or other utility access near the RV, discuss it before the concrete is placed. Planning sleeves or conduit ahead of time is much cleaner than cutting the slab later.
Not every RV pad needs hookups, but future planning is worth the conversation. Even a simple conduit route can keep options open if your needs change.
Choose a Practical Finish
For most RV pads, a broom finish is the most practical option. It provides traction, performs well outdoors, and keeps the surface functional in wet or snowy conditions. Decorative finishes can be considered when the pad is visible and curb appeal matters, but the finish should still be safe and durable.
A good RV pad should be easy to walk on, easy to clean, and practical for long-term parking.
Understand Curing Time
Concrete continues gaining strength after it is poured. Parking a heavy RV on the pad too soon can damage the surface or affect long-term performance. Your contractor should give you clear guidance on when light use is acceptable and when the pad is ready for full RV weight.
This waiting period can feel inconvenient, but it is part of protecting the investment.
Do You Need a Permit or HOA Approval?
Permit and HOA requirements can depend on the exact property, pad location, size, and neighborhood rules. Some projects may be treated like standard flatwork, while others may need review because of placement, drainage, or property restrictions.
Before work begins, it is wise to confirm any requirements that apply to your specific home. This is especially important in HOA communities where exterior improvements may need approval.
Why a Professional Estimate Is Worth It
A quality RV pad estimate should include more than a square-foot price. It should consider access, excavation, base prep, concrete thickness, reinforcement, drainage, finish, and project layout. Those details are what determine whether the pad performs well long after the concrete truck leaves.
For Saratoga Springs homeowners, the right installation can turn an underused side yard into one of the most practical areas on the property.
Work With Xpert Concrete & Seal
Xpert Concrete & Seal installs concrete RV pads designed for real RV weight, local site conditions, and long-term durability. Whether you need a simple side-yard pad, a wider parking area, or a reinforced slab for a heavier motorhome, the process starts with evaluating the property and building the pad correctly.
Request a quote for concrete RV pad installation in Saratoga Springs, Utah, and get clear recommendations for your project.
Frequently Asked Questions About Concrete RV Pads
What size should my RV pad be?
The pad should be sized around the RV’s length, width, tire placement, access needs, and any slide-outs or storage compartments. Extra walking space is often worth including.
Can an RV pad connect to my existing driveway?
Yes, many RV pads are designed as driveway extensions. The connection should be planned carefully so the transition, drainage, and access work properly.
What is the best concrete finish for an RV pad?
A broom finish is commonly used because it is durable, slip-resistant, and practical for outdoor parking areas.
How soon can I park my RV on new concrete?
Your contractor should provide project-specific guidance, but heavy vehicles should not be parked on fresh concrete too soon. Concrete needs curing time before it is ready for full RV weight.